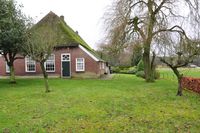
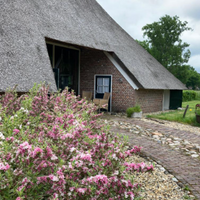
RENOVATING A NATIONAL MONUMENT
After purchasing the farm we took a year of time to experience what it was like living there. Only after that year did we begin designing the new plans for the farm and the yard. The monumental status of the farm was the guiding principle during the process. We also wanted to include a lot of sustainability in the new plans.
We made our new plans together with an architect, a building supervisor, the municipality, het Oversticht and the Ministry for Cultural Heritage. Over the span of 1,5 years we invited many specialists to our kitchen table, such as an energy expert and a constructor. This cooperative approach to the planning was such a big succes that we extented this approach to the building process as well.
Together with the contractor we created a building team for the renovation of the farm. Because the renovation of a heritage-farm is quite a unique undertaking, we would also like to show you what kinds of steps are involved with the process. In the following timeline you can find an overview of several proceedings that took place at Erve Volkerink.
DECEMBER 2022
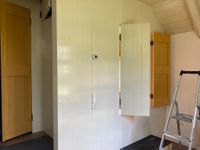
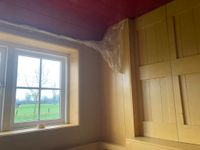
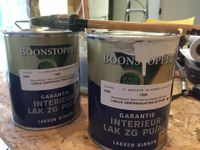
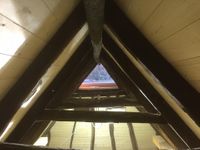
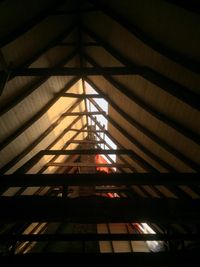
We are painting, still using lineseed-oil-based paint, and we are fast approaching the final layers. We are using ocher-yellow for our unique skylight. Every farm in Beerze has their own unique skylight; no two are the same. During the sanding this color appeared as the original color of this window, so we are now restoring it to its original state.

AUGUST 2022
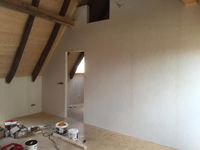
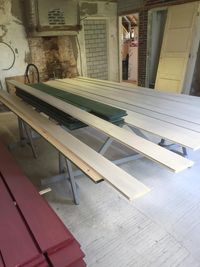
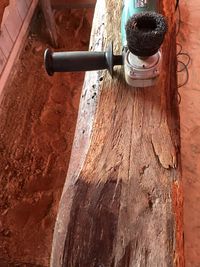
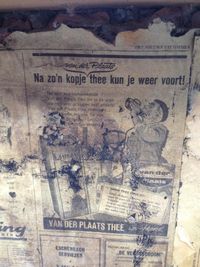
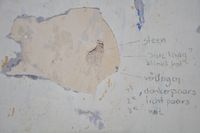
After a delightful summer during which we did a lot of work in the garden, it is time to continue the renovation. The wood is receiving its last layers of paint, and the walls of the historical living room received a make-over: these are now painted chalk-blue, based on leftover colour we found on the walls beneath seven layers of old wallpaper.
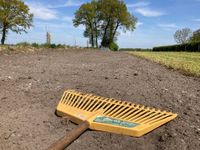
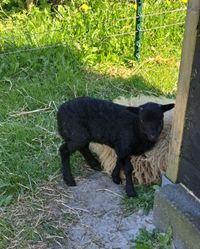
MAY 2022
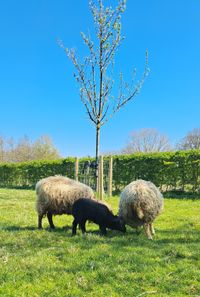
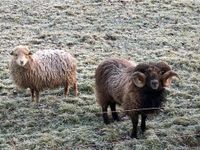
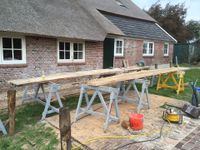
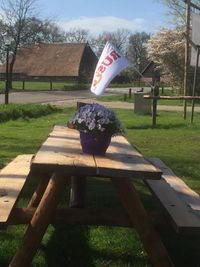
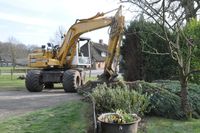
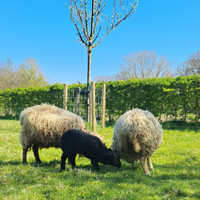
Spring has arrived at Erve Volkerink! The fields are being prepared for a new season, we are working hard in the vegetable garden (including the new arrival of several pear trees) and as the cherry on top: a little lamb has been born!
MARCH 2022
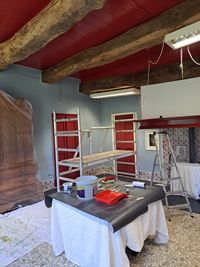
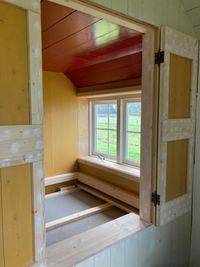
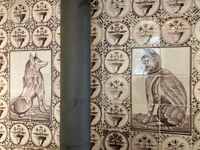
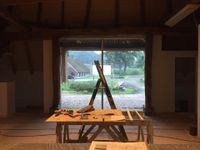
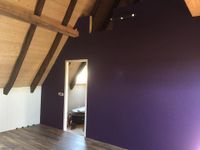
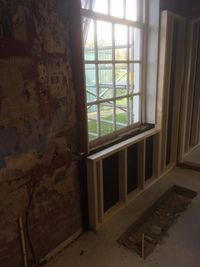
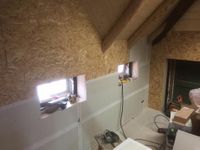
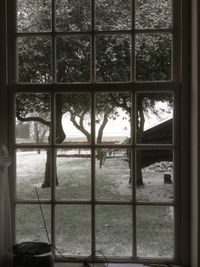
Another update on the painting: this is the view from the 'bedstee'. The ceiling has been painted with linseed-oil-based paint in the color 'Oerrood' (old red). This pigment was historically found in the iron boulders next to river de Vecht. The walls are painted ocre. We found this color while sanding the original windowsills, and the color can also be found in the old tiles that are placed in the kitchen. The view is the centuries old centre of Beerze. If you were to through this window 800 years ago you would see House Beerze, de Hofte, from where Werner of Beerze originated. Werner fought at the battle of Ane.
FEBRUARY 2022
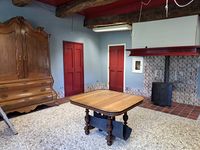
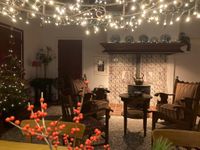
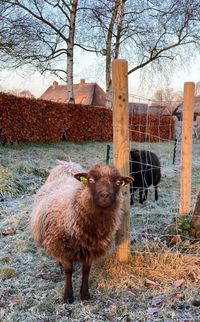
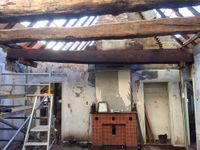
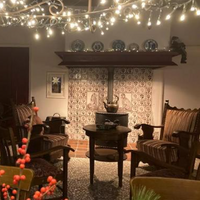
We have now arrived at the finishing touches and all the puzzle pieces of the previous years are starting to fall into place. For example, we have finally been able to install the fireplace. This fireplace originates from Huis Beerze, where several previous inhabitants of Erve Volkerink used to work. Because of this we are very excited to have the fireplace in our farm, and to have it back in use. Furthermore, our newest additions to the family have experienced their first winter with us: the dwarf-sheeps Mies, Jes, Zus and Emiel.
UPDATE 2021
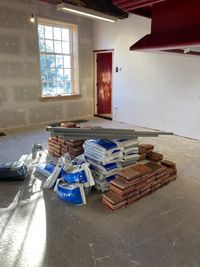
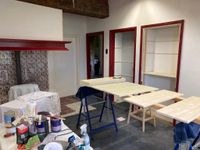
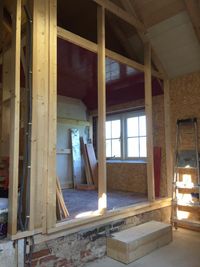
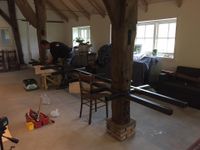
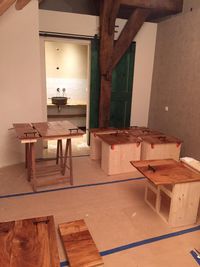
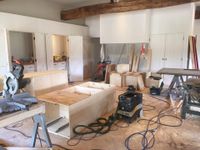
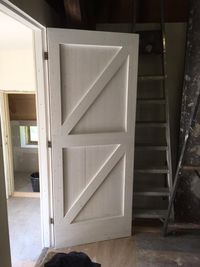
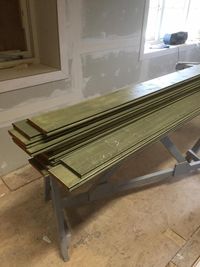
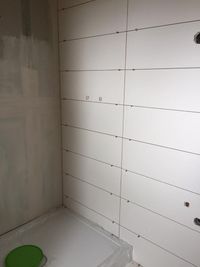
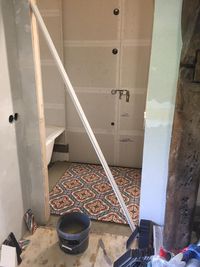
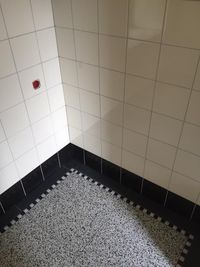
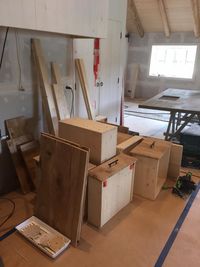
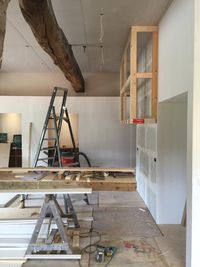
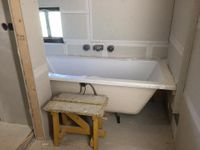
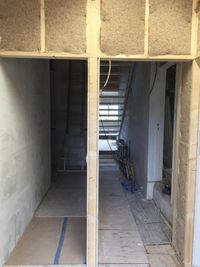
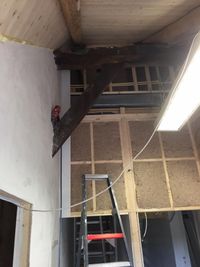
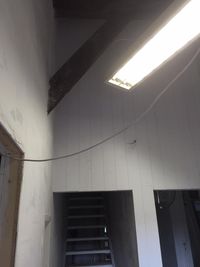
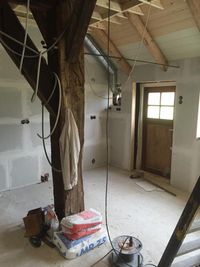
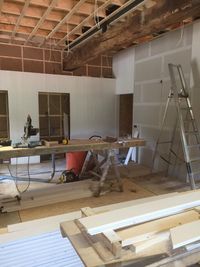
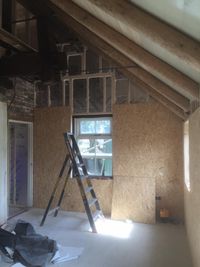
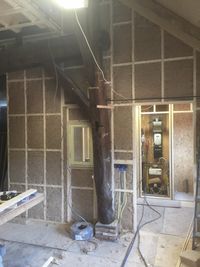
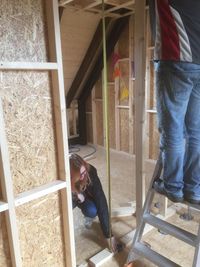
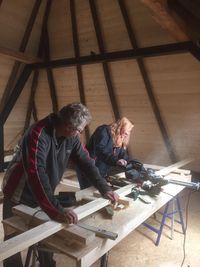
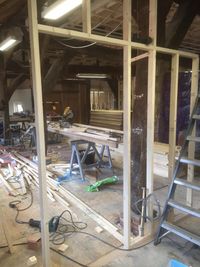
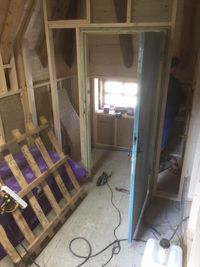
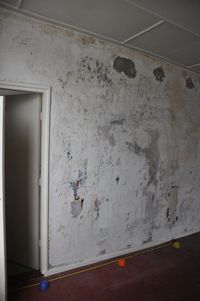
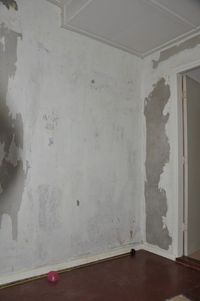
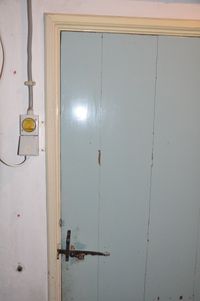
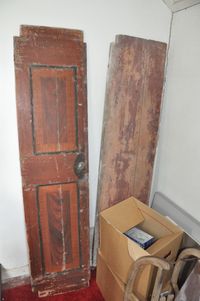
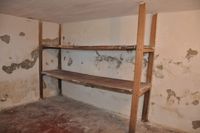
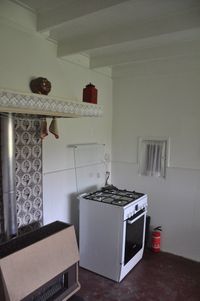
Following a hectic period in which we mostly worked on the yard, renovation-works on the inside have begun as well! The installar, carpenter and tiler have all been working hard and as a result the bedstee-room, the old living room and the old kitchen are now almost ready to be used. Below you can find a brief impression of the developments of this last period.

UPDATE 2016-2021
We still need to upload the images of this period. Due to the busy construction-works we were not always able to invest enough time into this. Do you still want to stay up-to-date? Then take a look at our Facebookpage, which is regularly being updated. https://www.facebook.com/ErveVolkerink/
OCTOBER 2016
SEPTEMBER 2016

AUGUST 2016
JULY 2016
JUNE 2016
MAY 2016

APRIL 2016

MARCH 2016
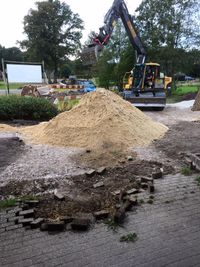
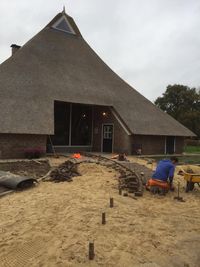
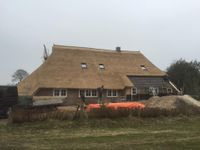
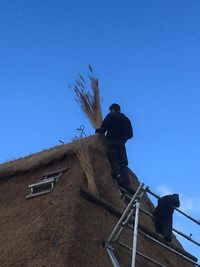
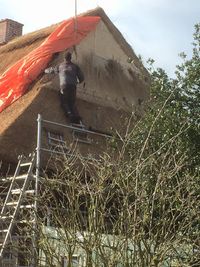
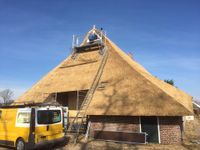
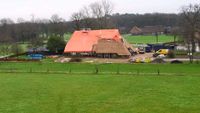
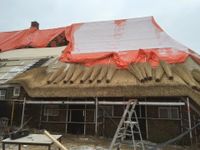
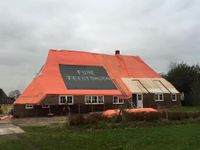
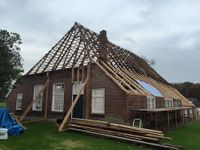
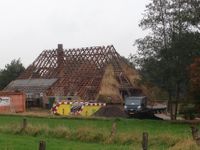
We've hit an important milestone: the roof is closed again! After the 'toefen' and the 'rietrol' were finished at the top of the roof, and the rooftiles were put back in place, it's time to celebrate. Historically this was done with coffee, bread and bacon but we've adapted it a bit and are celebrating with Beerze beer and a barbecue.
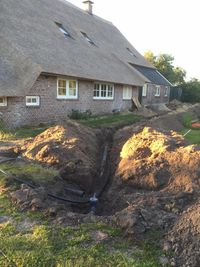
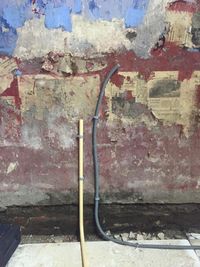
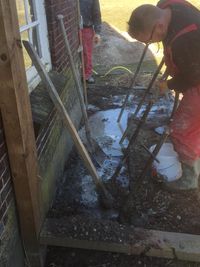
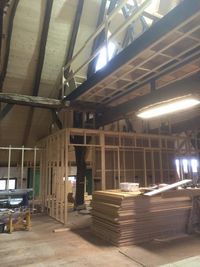
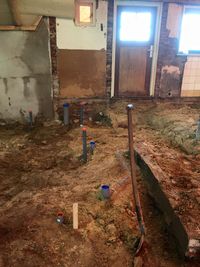
Because the front facade is sagging and there is no foundation underneath it, we have decided with the constructor to stabilize the ground by injecting 'spraying mortar'. Inside the house the contours of the new rooms are beginning to show.

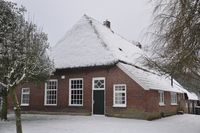
FEBRUARY 2016
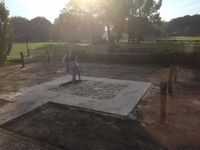
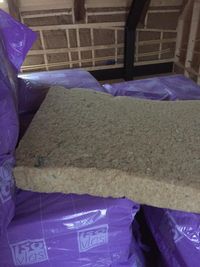
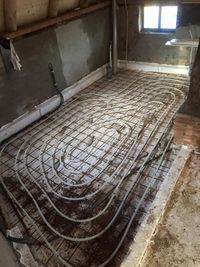
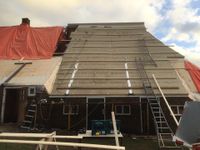
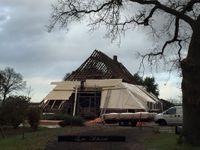
Luckily the weather in the month of February was mostly dry, which means that the weather was great for working on the straw roof. Inside we're working on isolating the floor. The isolation is placed on top of the waterpipes to ensure that those will not be affected by the underfloor heating. On top of the isolation we've placed the electric wires, followed by a concrete slab, the underfloor heating, and then another concrete slab to keep the pipes from floating upwards once the final layer of concrete is poured. This is exiting but a but nerve-wracking because everything has to be exactly in the right spot. After our final time measuring and checking everything, the concrete truck came around... the floors really do take up a massive amount of concrete!
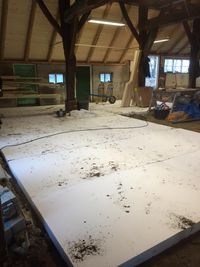
After the builders and the concrete pourer have done their jobs, it is time for the floor finisher. He starts by observing the floor... some coffee... some more coffee...The concrete has to be the exact right consistency before it can be polished. And the time that takes is depending on the weather, the type of concrete, and some other factors that do not necessarily stick to 'office hours'. Every now and then he takes another look, feels how the concrete is doing and then finally, after several hours, he can begin polishing for the first round. Then it is time for another break, and another round of polishing the floor. And suddenly you are socially chatting and waiting for the next round while all the neighbours' lights are slowly turning off and everybody else is heading to bed.
The next morning we are left with an amazingly polished concrete flour. In order to let it dry up nicely we have to keep the flour wet for a day or five. So time to take out the garden hoses and keep watering our flour. Luckily the biggest window in the room is currently taken out, so the water can simply stream out of the building. However, there was another place that the water kept pouring towards. Now, after five days, we finally know what place that was: the basement!
In the old house we have attached to red wooden planks to the ceiling and installed the ventilationpipes through the chimney.
JANUARY 2016
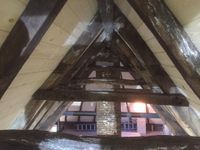
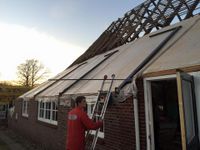
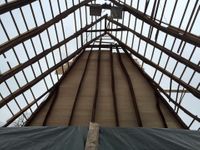
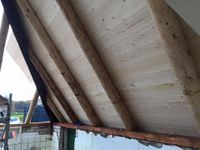
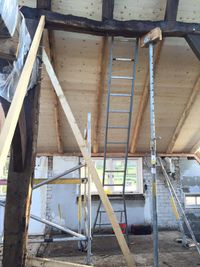
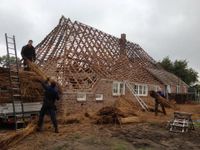
After the Christmas break and a short period of frost we're back to working on the roof. In order to preserve the original 'waves' of the roof, the builders have attached the new planks from truss to truss, and the isolation plates are also placed in short horizontal parts.
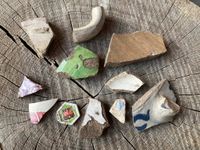
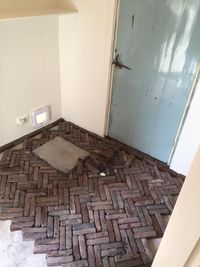
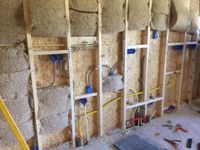
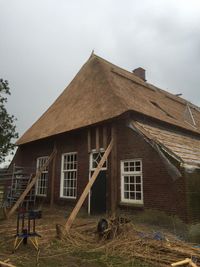
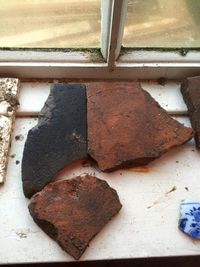
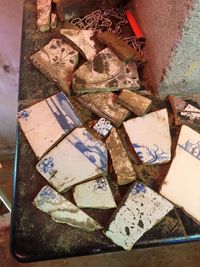
The tatcher has also begun his work. The house is starting to look like a farm once more. Inside all the concrete from the flooring has been removed and new pipes are being placed in the 'sandbox'. The isolation, rebar and electric wires will be placed on top of this. During the leveling of the sand in the old house we found some historical materials: pieces of old floortiles, shards of walltiles and several pieces of pottery.
DECEMBER 2015
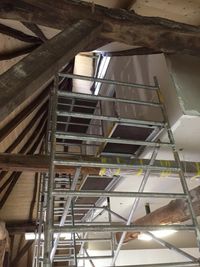
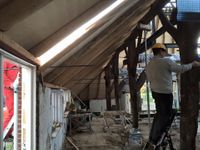
After restabilizing the farm it is important to keep the construction stable for the future. In the old house we replaced a broken truss with sturdy 'new' wood. After searching around we found old oaken trusses in the neighbourhoud. Some of them we were able to pick up at our direct neighbours: from the Erve Kotman.
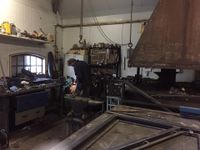
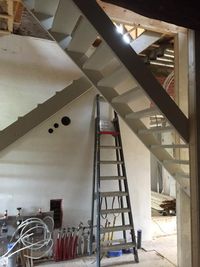
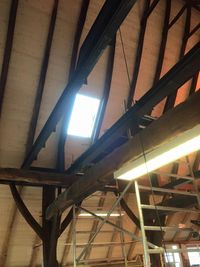
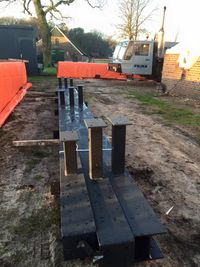
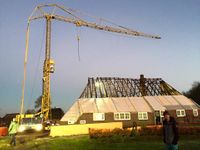
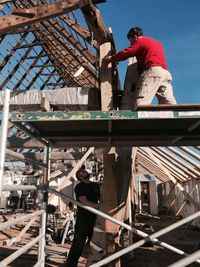
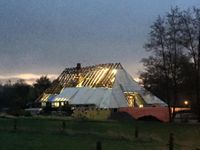
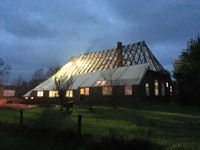
To keep the construction of the roof stable we brought in new steel frames, which were placed on top of the existing trusses. And because all of the trusses are crooked, this took a lot of precision, measuring and patience: every piece of steel has been individually measured and made. This steel frame will be made almost completely invisible in the final construction: only the little 'feet' of the frame and some metal rolls will remain visible.
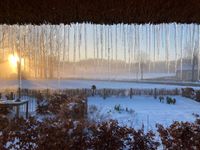
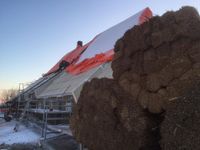
After the roof had been convered with tarp before the Christmas Holiday the only thing left to do for us was to enjoy our 'Christmas card on the roof'. Happy holidays everybody!
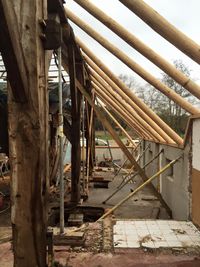
NOVEMBER 2015
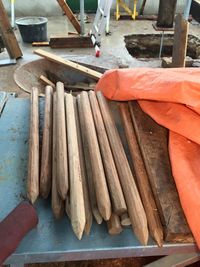
After the demolision we have entered a new phase: restabilizing the frame. All 'ondersporen' have been removed because they had became too thin and weak. The trusses were jacked up until there was no more tension placed on the frame. Some of these trusses were lifted over 30cm up. Due to this the truss plate was relieved of all the tension which meant that pieces that previously laid more than 15cm apart could finally fit back in to each other. All connections were repaired in the traditional with, with o.a. wooden pins. Only once then restabilizing work had been completed did we begin placing the new 'ondersporen' and their accompanying planks.
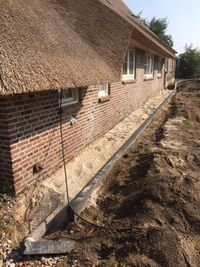
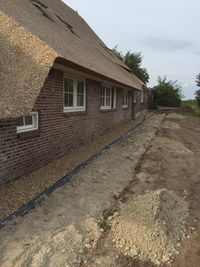
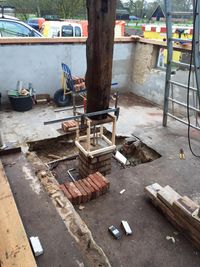
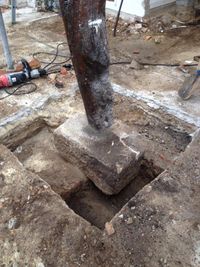
When removing the concrete floor we found that most of the 'gebintstijlen', the footings on which the trusses are places, had rotted away. All the rotten parts were sawn off and a new brick footing was created for them. The bricks we used for these new footings were left-over from a renovation across the street.


OCTOBER 2015
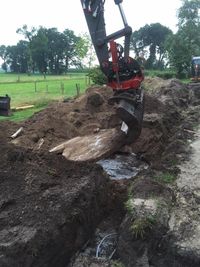
The theme of this month was demolition. The asbestos was taken out and walls that were not original to the building were taken down. Sometimes we got some nice 'presents' during this process: underneath one of the trusses' footings we found a heavy Bentheimer sandstone. Historically these were transported along the river the Vecht, during which the sailors often stopped by the inn 'De Groede Vrouw' in Beerze for a drink. All Bentheimer stones at the Palace on the Dam in Amsterdam have sailed through Beerze in this manner.
OVERVIEW 2014
OVERVIEW 2013
OVERVIEW 2012
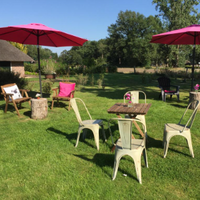
sfeerimpressie

CONTACTGEGEVENS
Erve Volkerink
Beerzerweg 27 | 7736PH | Beerze
Nederland
info@ervevolkerink.nl